
DIY BUNK BEDS
The only problem with having twin beds in our kids’ bedroom was that it didn’t give them much space to play in.
To solve that problem, I came up with this twin built-in bunk bed that not only looks cool, but gives them much more room.
Let me show you how I did it:

Preparing the Boards
To build these bunk beds, we're going to use a series of 4x6 and 2x6 boards.
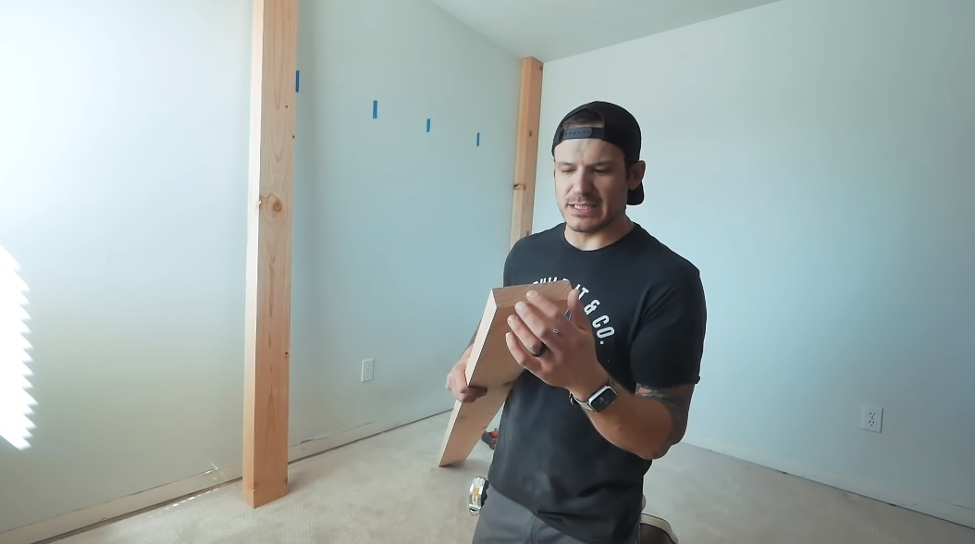
When you buy your boards, you'll likely find that they have imperfections in them. So, to save spending time sanding them, you can run them through a thickness planer and trim off the edges to clean them up a bit.

Cut to Size

The 2x6 boards will form the base and frame of the beds, so we need them to cut them to the right size.
My kids' beds were 38" wide by 76" long, so I cut them to that size, but you can go with whatever dimensions work best for you.
With that done, take some time to patch over any knots in the wood with wood filler and smooth down with 120-grit sandpaper.
Create Pocket Holes
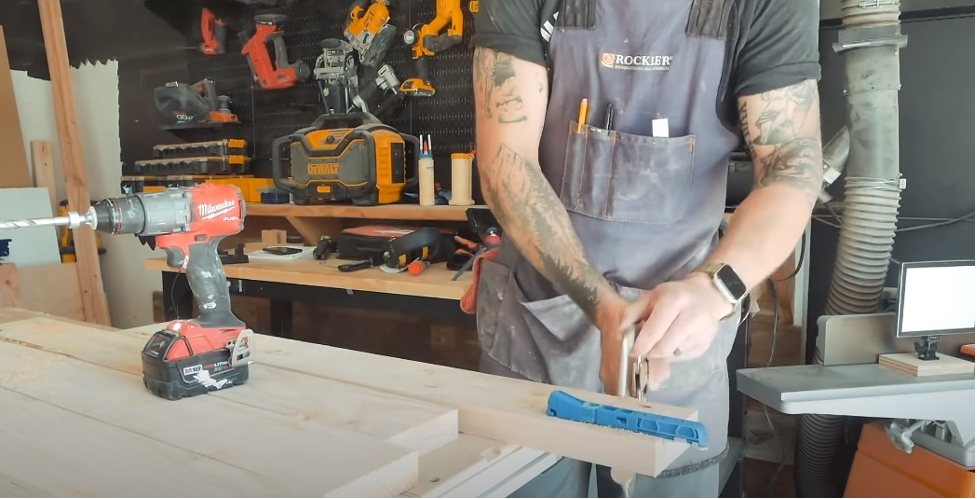
Each 2x6 board needs three pocket holes at either end to attach them to the larger 4x6 posts.

This can be achieved simply by using a pocket hole jig.
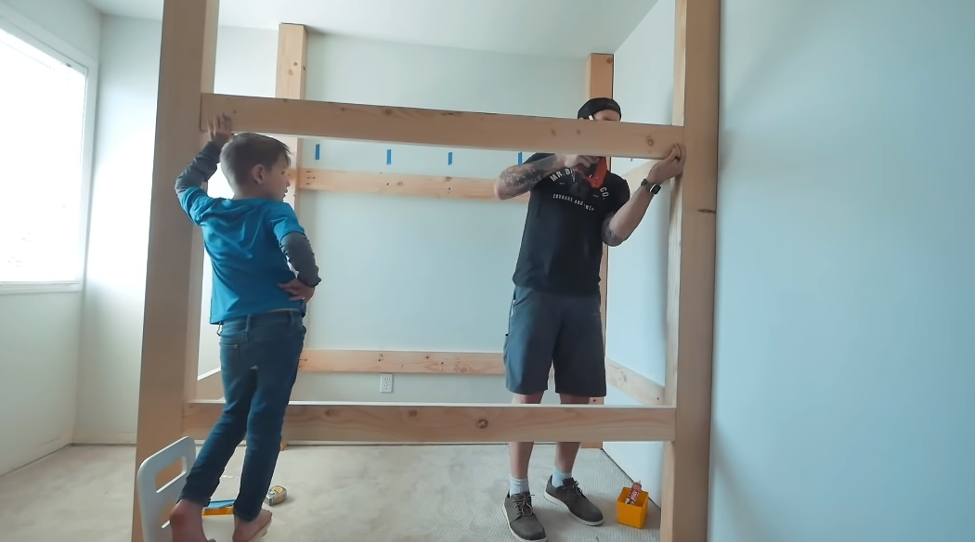
building frame
The large 4x6 posts stand vertical to support the beds, with the 2x6 posts connecting horizontally.

To ensure everything is fully safe and secure, I recommend using a combination of strong adhesive applied to the edges of the wood and pocket screws drilled into the pocket holes.


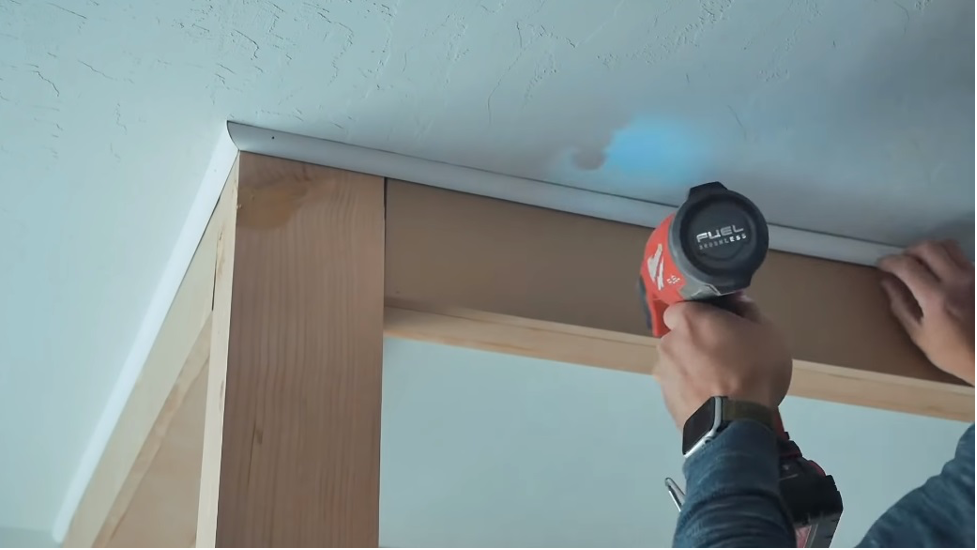
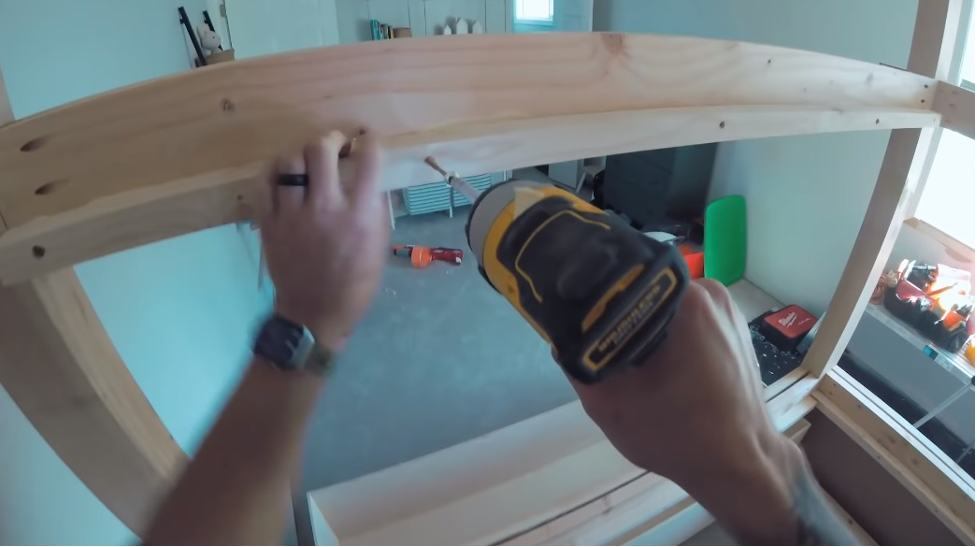
Creating Faux Beams for the Top Section
With the main frame done, you might want to add extra beams across the top of your bunk beds, built-in to the ceiling.
The problem with this is that the 4x6 posts used to build the main frame are seriously heavy, so there's no way to properly secure them in place without getting into all kinds of complicated joinery.

An easier solution is to simply create faux beams by securing three pieces of MDF together as in the images shown here.

These can then be easily attached to the ceiling and the bed frame.
Finally, use round-over to finish off this whole section and make it nice and neat.
Under-Bed Storage
Remember, our main goal with these bunk beds was to free up space, so why not go all out and add storage underneath the actual beds?

One simple way to do this is to create one long (but light) draw using 1/2 maple plywood, assembled with simple butt joints, and held together with glue and brad nails.

To conceal the draw compartment, you can take a simple piece of scrap MDF, cut it to size and secure it in place from the inside using pocket holes and screws.
Applying the Shiplap


With the frame in place, you can then go ahead and apply the shiplap vertically as so:


Install the Drawer
Remember that drawer we made earlier?

Now’s the time to add your drawer slides to the bed slot that drawer in there.


Patching and Sanding

With all that done, we're going to get ready to start priming and painting. Before we get to that, now is a perfect time to go in and patch over all the brad nails with wood filler and sanding down with 120-grit sandpaper.
Primer and Painting

It's time to start making that frame look good, so after applying a quality water-based primer, paint your bed in whatever color suits the theme of your kids' room.

Mattress Slats
For the mattress slats, you can use a single sheet of half-inch maple plywood, cut into five-inch strips.

After rounding off the edges of the slats themselves, you can take four smaller boards and secure them to the inside of your frame to support the slats as below:
You can then use 1 1/4 inch screws to secure the slats to the support frame.

Finishing Touches

It might not be essential, but it's definitely a cool finishing touch to add LED lights around the frame.

You can then add a ladder, framing, and finally, the mattresses and drawer.
Our kids loved their new beds, and no doubt yours will too.
